


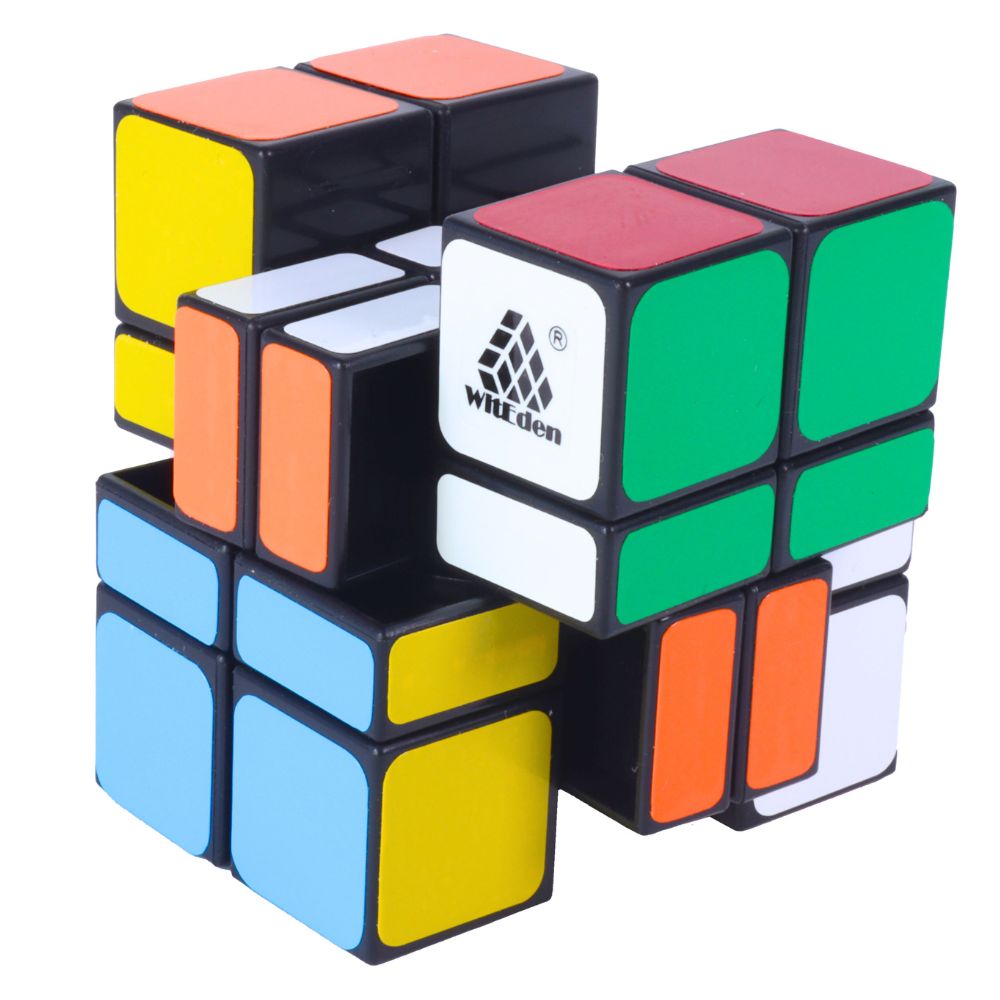


How to Assemble a 2x2 Rubik's Cube
Learn how to re-assemble your 2x2 Rubik's Cube with KewbzUK. In this guide we will walk you through the steps with both easy to follow photos and instructions along with a full video tutorial.
The Pieces
Note: You can click the image to make it bigger

Ensure 2 winged internal pieces are adjacent to one another

Insert the W/O/B corner piece between the 2 winged pieces

Insert the last winged internal to create a 'static corner'

Turn the cube over so that the white face is pointing down

Put the W/B/R corner next to the 1st corner

Pop the internal piece in between the centers by the new corner piece

Pop another internal piece in between the other adjacent center pieces

Rotate the cube so that the white side is pointing down again

Put the W/R/G corner piece in position

Insert the internal between the 2 centeres as we did before

Turn the cube over and insert another internal between the 2 centers

(same as previous step showing where the internals go)

Pop the cube back on the table with white down

Insert the final white corner piece

Add the final internal piece for this bottom layer.

Put the Y/G/O corner piece in position

Turn the cube round to get a better angle to insert the internal

(same as previous step showing the internal in place)

Turn the cube back so that yellow is on top

Pop the Y/O/B corner in place

Rotate the cube so that you can insert the 2 internals between the Y/G and B/Y centers

(same as previous step showing the internals in place)

Put the R/Y/G corner in position

Put the final internal piece in position

You may have to loosen the screw on the red/blue/yellow side slightly

You can now pop your last corner piece in (do not force it inbetween the internals)

If you loosened your screw, now is time to tighten it again
- Choosing a selection results in a full page refresh.